個人WEBをTailwind CSSで書き直して約半年…
また、書き直してしまいました…
今回は今ホットなAstroで個人WEBをリメイクしました。
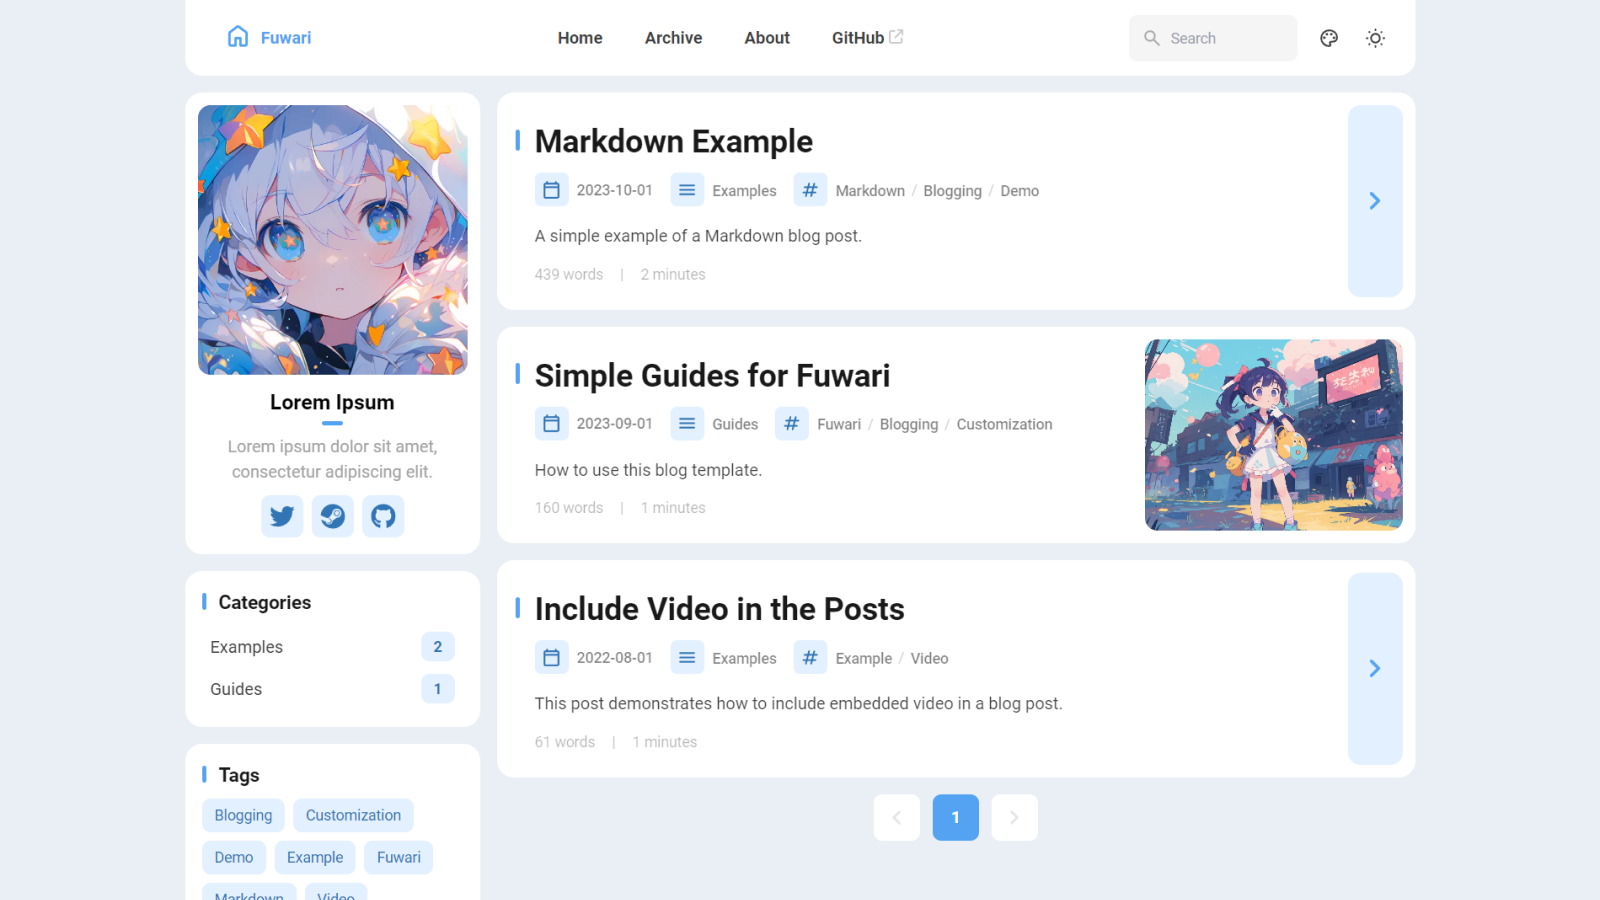
テンプレートはAstro公式サイトでビビッと来たFuwariを使用しました。
デザインがとても良く、かゆいところにも手が届いており無料で利用できることに驚いています。

Astroとは
Astroは、 静的サイトジェネレーター(SSG)とサーバーレンダリング(SSR) の両方をサポートする、次世代のフロントエンドフレームワークです。軽量で高速なWebサイトを構築することを目的とし、 コンテンツ中心のWebサイト(ブログ、ドキュメント、マーケティングサイトなど) に最適です。
表示も早いですが、体感ビルドも早い気がします。
また、Astroは Markdown(.md)とMDX(.mdx) をネイティブサポートしており、ブログやドキュメントサイトの構築が容易です。

Fuwariとは
FuwariはAstroのThemesで公開されているブログテンプレートの1つです。
Fuwariのリポジトリで右上のUse this templateをクリックすることで自分のリポジトリに複製することが出来ます。
- AstroとTailwind CSSで設計
- Swupで設計されたスムーズなアニメーションとページ遷移
- ライト / ダークモード
- カスタマイズ可能なテーマカラーとバナー
- レスポンシブデザイン
- Pagefindによる検索
ユーザ側でテーマカラーを自由に変更できる機能がユニークで面白いですね。
サイトのカスタマイズ
サイトの設定を編集する際はsrc/config.tsを直接変更します。
サイトタイトルやプロフィール画像、テーマカラーの変更などが出来ます。
この他に本WEBサイトでは、以下のカスタマイズを入れています。
リンクカード
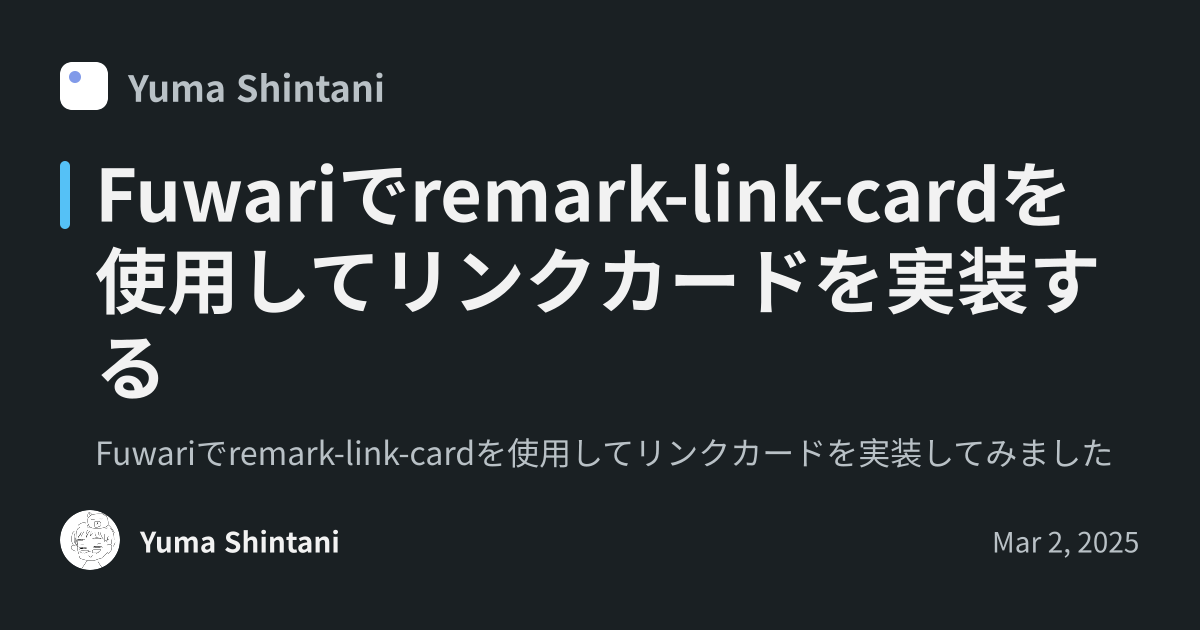
FuwariではリンクカードはGithubのみの対応のため、その他のサイトもリンクカードとして表示させるカスタマイズを入れました。
AstroではRemark Pluginが使用できるため、今回は定番のremark-link-cardを使用しました。
以下で記事にしています。

ブログページにコメント機能をつける
コメント機能はこれまでと同様にgiscusを使用しました。
-
以下の手順でgiscusを使用するための準備をする
giscusの設定 -
src/components/Comments.astroを作成する
<section> <script src="https://giscus.app/client.js" is:inline data-repo={import.meta.env.NEXT_PUBLIC_GISCUS_REPO} data-repo-id={import.meta.env.NEXT_PUBLIC_GISCUS_REPO_ID} data-category="Announcements" data-category-id={import.meta.env.NEXT_PUBLIC_GISCUS_CATEGORY_ID} data-mapping="pathname" data-strict="0" data-reactions-enabled="1" data-emit-metadata="0" data-input-position="bottom" data-lang="ja" crossorigin="anonymous" data-theme="preferred_color_scheme" async> </script></section>
<script is:inline> function updateGiscusTheme() { const theme = document.documentElement.classList.contains('dark') ? 'dark' : 'light' const iframe = document.querySelector('iframe.giscus-frame') if (!iframe) return iframe.contentWindow.postMessage({ giscus: { setConfig: { theme } } }, 'https://giscus.app') }
const observer = new MutationObserver(updateGiscusTheme) observer.observe(document.documentElement, { attributes: true, attributeFilter: ['class'] })
window.onload = () => { updateGiscusTheme() }</script>.env.localを作成する
NEXT_PUBLIC_GISCUS_REPO={repository_name}NEXT_PUBLIC_GISCUS_REPO_ID={repository_id}NEXT_PUBLIC_GISCUS_CATEGORY_ID={category_id}src/pages/posts/[...slug].astroに作成したCommentsコンポーネントを追加する
import Comments from '../../components/Comments.astro';{/* 中略 */}<div class="flex flex-col md:flex-row justify-between mb-4 gap-4 overflow-hidden w-full"> <a href={entry.data.nextSlug ? getPostUrlBySlug(entry.data.nextSlug) : "#"} class:list={["w-full font-bold overflow-hidden active:scale-95", {"pointer-events-none": !entry.data.nextSlug}]}> {entry.data.nextSlug && <div class="btn-card rounded-2xl w-full h-[3.75rem] max-w-full px-4 flex items-center !justify-start gap-4" > <Icon name="material-symbols:chevron-left-rounded" class="text-[2rem] text-[var(--primary)]" /> <div class="overflow-hidden transition overflow-ellipsis whitespace-nowrap max-w-[calc(100%_-_3rem)] text-black/75 dark:text-white/75"> {entry.data.nextTitle} </div> </div>} </a>
<a href={entry.data.prevSlug ? getPostUrlBySlug(entry.data.prevSlug) : "#"} class:list={["w-full font-bold overflow-hidden active:scale-95", {"pointer-events-none": !entry.data.prevSlug}]}> {entry.data.prevSlug && <div class="btn-card rounded-2xl w-full h-[3.75rem] max-w-full px-4 flex items-center !justify-end gap-4"> <div class="overflow-hidden transition overflow-ellipsis whitespace-nowrap max-w-[calc(100%_-_3rem)] text-black/75 dark:text-white/75"> {entry.data.prevTitle} </div> <Icon name="material-symbols:chevron-right-rounded" class="text-[2rem] text-[var(--primary)]" /> </div>} </a></div>
<div class="card-base z-10 px-3 md:px-6 pt-6 pb-4 relative w-full"> <Comments /></div>コードブロックのデザインを変更する
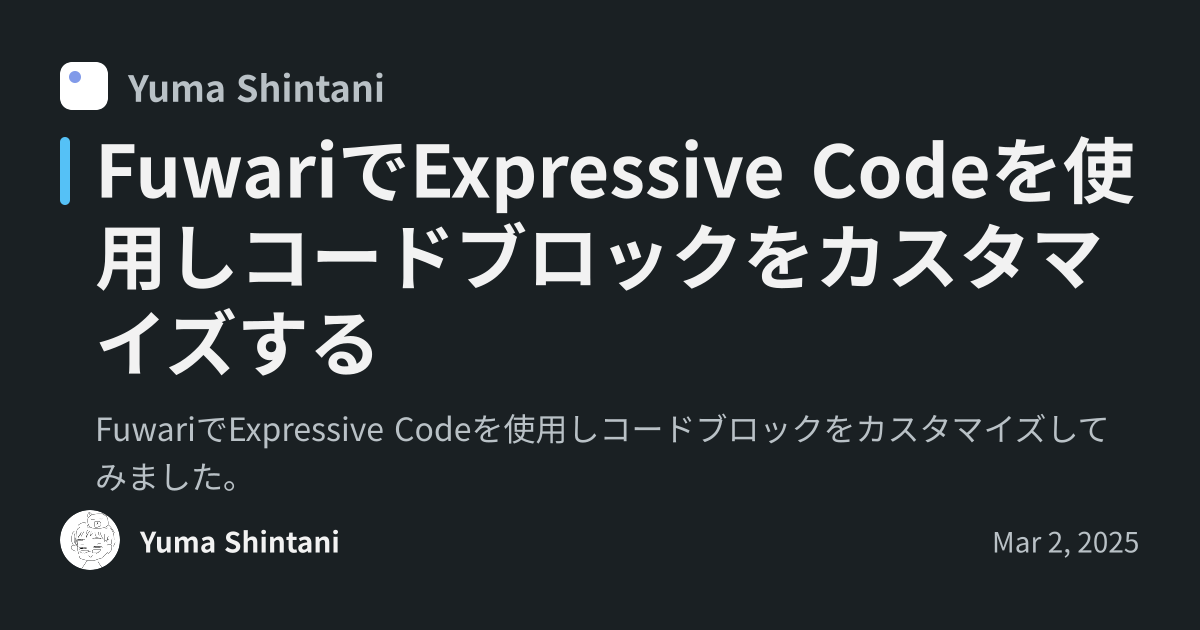
FuwariデフォルトのコードブロックはLanguageやファイル名を表示できないため、astro-expressive-codeを使用してカスタマイズしました。
以下で記事にしています。

おわりに
Astroは今回のサイトのリメイクで初めて触れましたが、比較的入りやすかったです。
まだ深く理解できていないので今後も色々作りながら学んでいければと思っています。
参考にさせていただいたありがたいサイト


